
How to make a vision board.
Step one: Select a board.
Purchase a poster board, or your choice of background for your vision board. I typically prefer the plain white posters you can get at the Dollar Tree. I’ve seen others use black poster boards, tri-folds, framed boards, and cork boards! The choice is completely up to you.

Step two: Gather your materials.
I like to have scissors, clear packaging tape, and a stack of magazines. I also may spontaneously decide to use writing materials, stickers, or other creative decorations.
Step three: Pause, pray and wait for inspiration.
This is one of my favorite steps in the whole process. I love to put on my favorite music, have an enjoyable snack or herbal tea nearby, and start with whatever magazine looks like it contains the words and pictures that will catapult me into the next 12 months! I love to let my imagination go. I love to spend intentional time, hoping for the best, and then daring myself to believe for it. After completing vision boards every year since 2015, one common thread that keeps me coming back to this activity is the realization that it’s nearly impossible for me to dream too big. I encourage you to do the same - DREAM BIG!

Step four: Place your favorites on the board.
Cut out and gather into a pile all the words and pictures that inspire you. During this step, you can also begin to decide how you want your cut outs to look on your vision board, and begin to place the cut outs on the board. Note: In the past, I have use a little bit of glue on the back of each magazine cut out. I’ve also tried little pieces of tape on the backs of the cut outs, or little pieces of tape on each side of the cut outs. However, my favorite way to adhere the cut outs to the vision board is explained in step 5.
Step five: “Laminate” your finished vision board.
After trying all the other ways to make cut outs stick, my favorite way to adhere cut outs to a vision board is to lay them all down on the board like a large creative, personalized puzzle. Next, carefully stretch clear packaging tape horizontally (or vertically for tri-fold boards) all the way across the poster board, and fold the extra length of the tape behind the board on both sides.
Beware, this can become fairly tricky when static from the packaging tape gets closer to the poster board and slightly moves the cut out pieces out of place. It may take a few tries to get it right. Even so, this method saves me so much time in the process that I return to it year after year.
Another one of my favorite benefits of “laminating” vision boards with packaging tape is that I can return to the vision board many months and even years later, because they have not fallen apart (as some of my earlier vision boards have).
Step six: Decide where to display your vision board for the year.
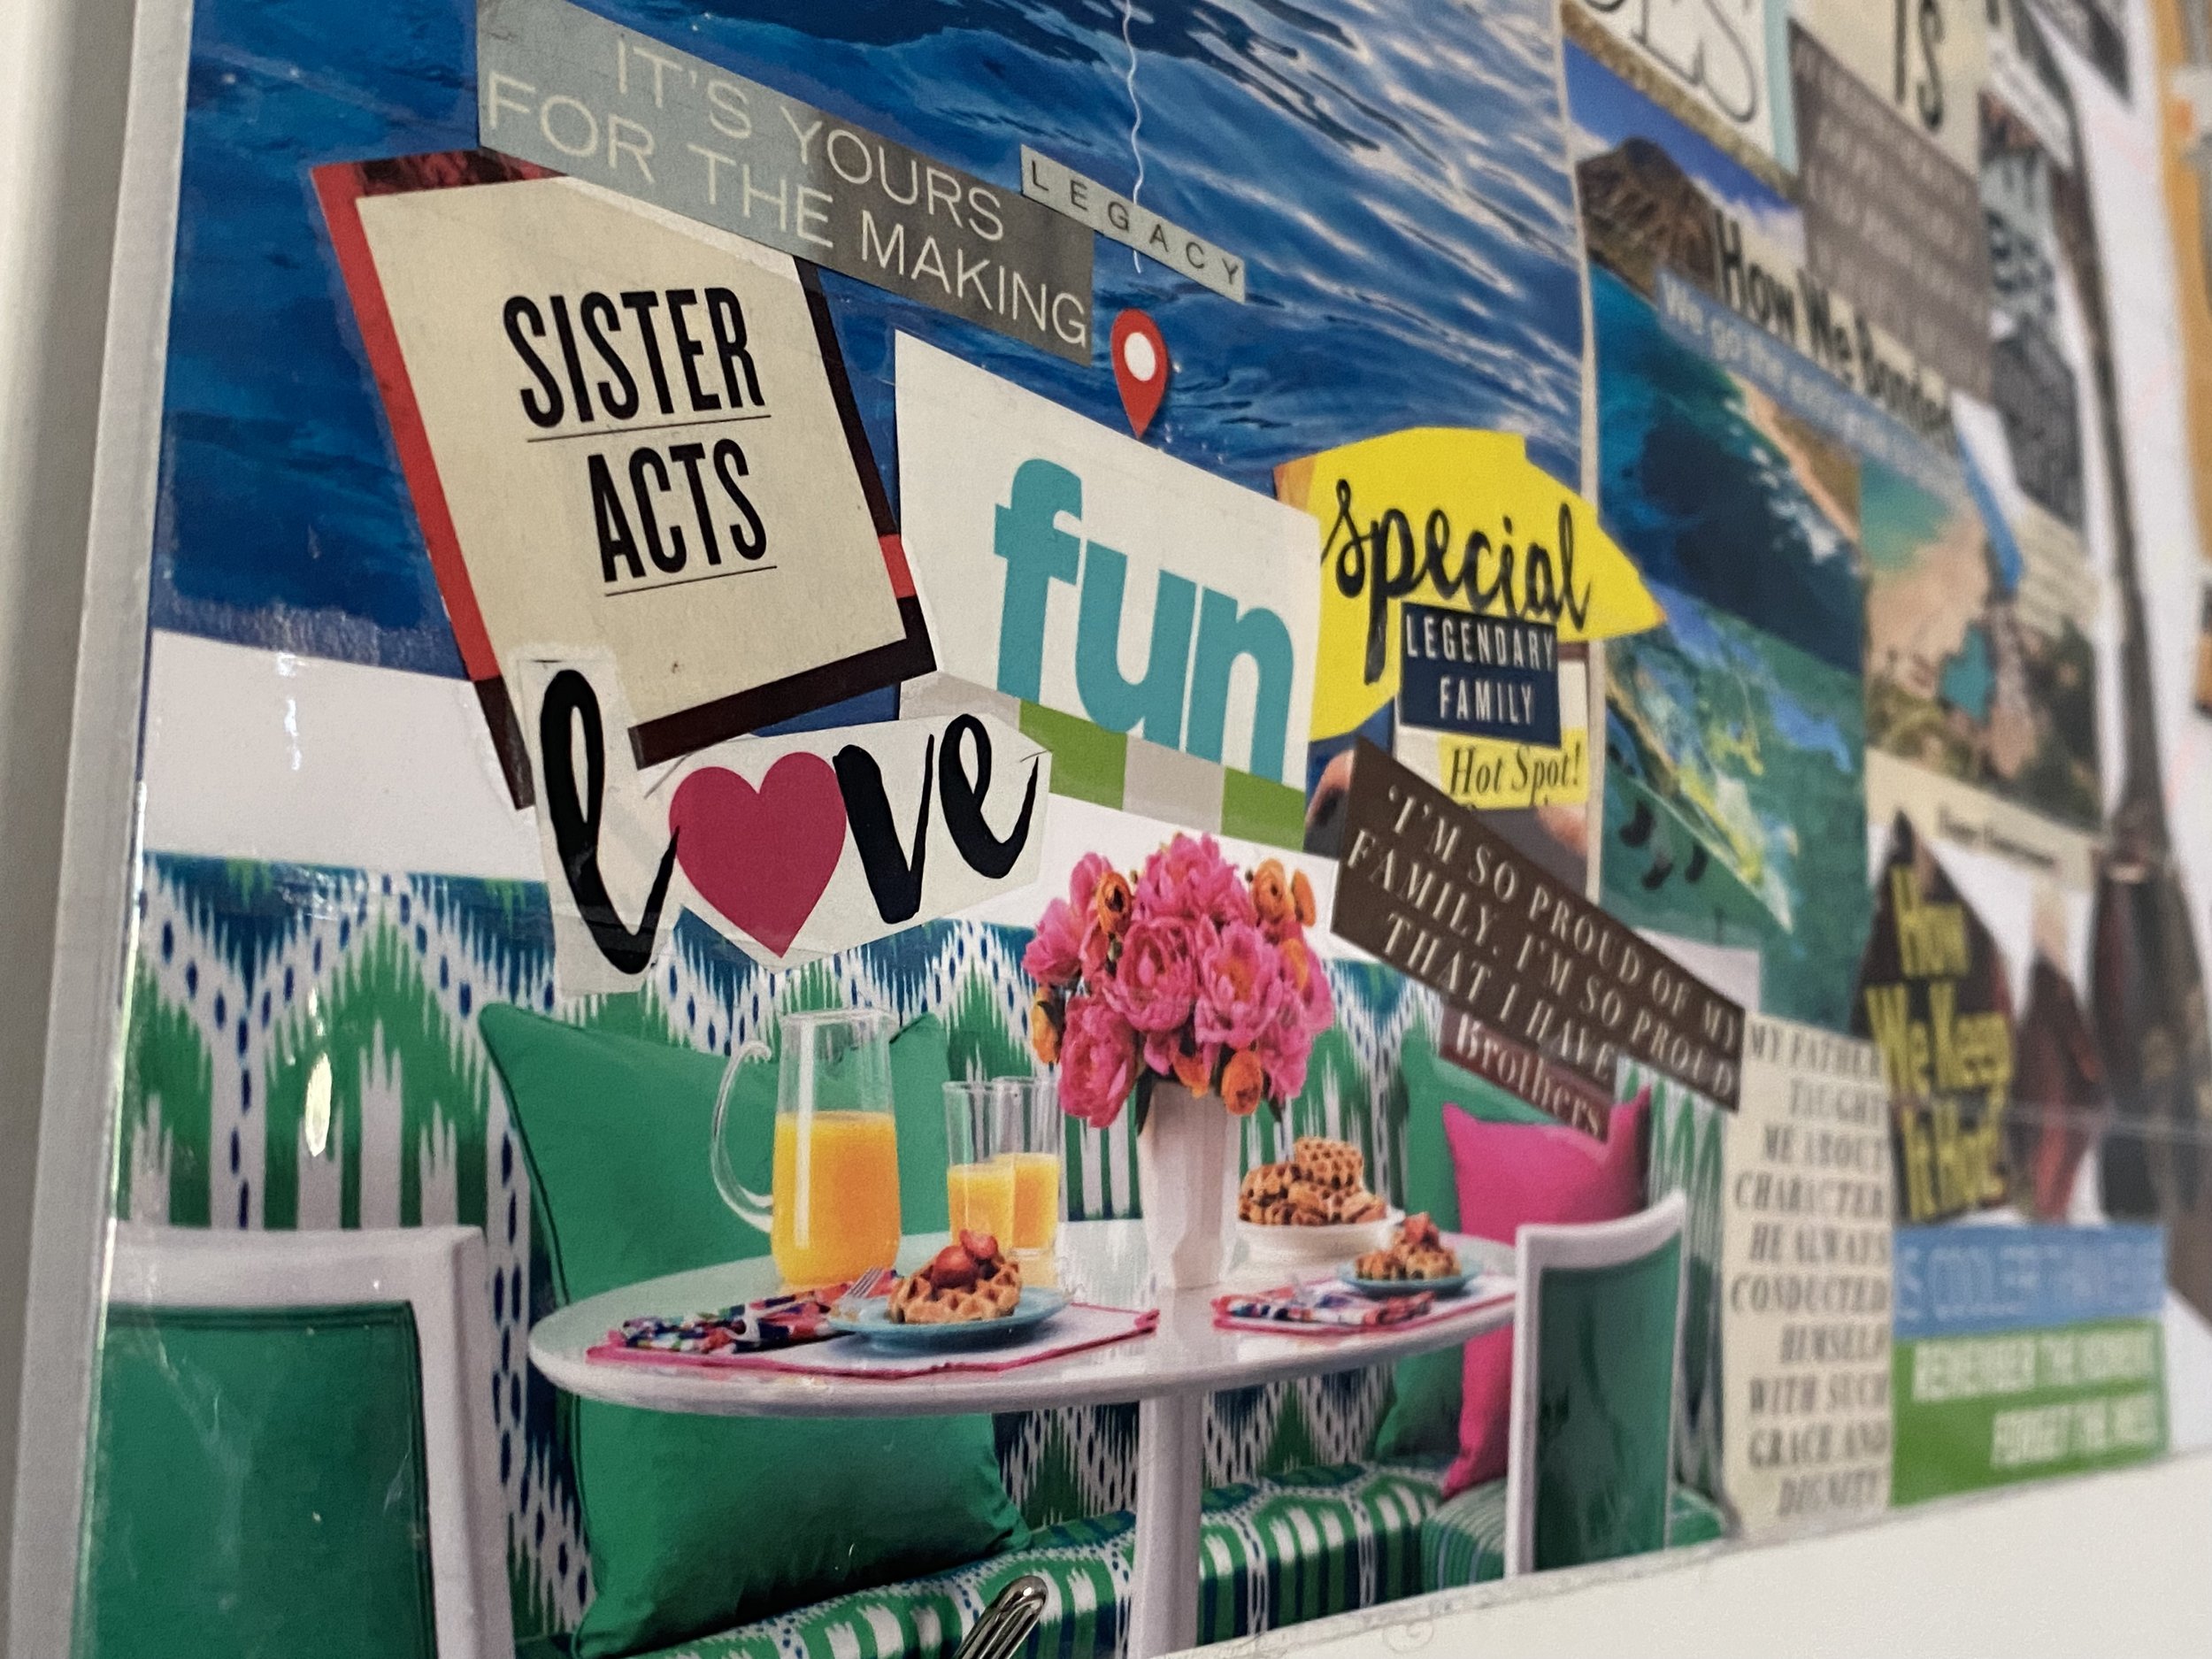
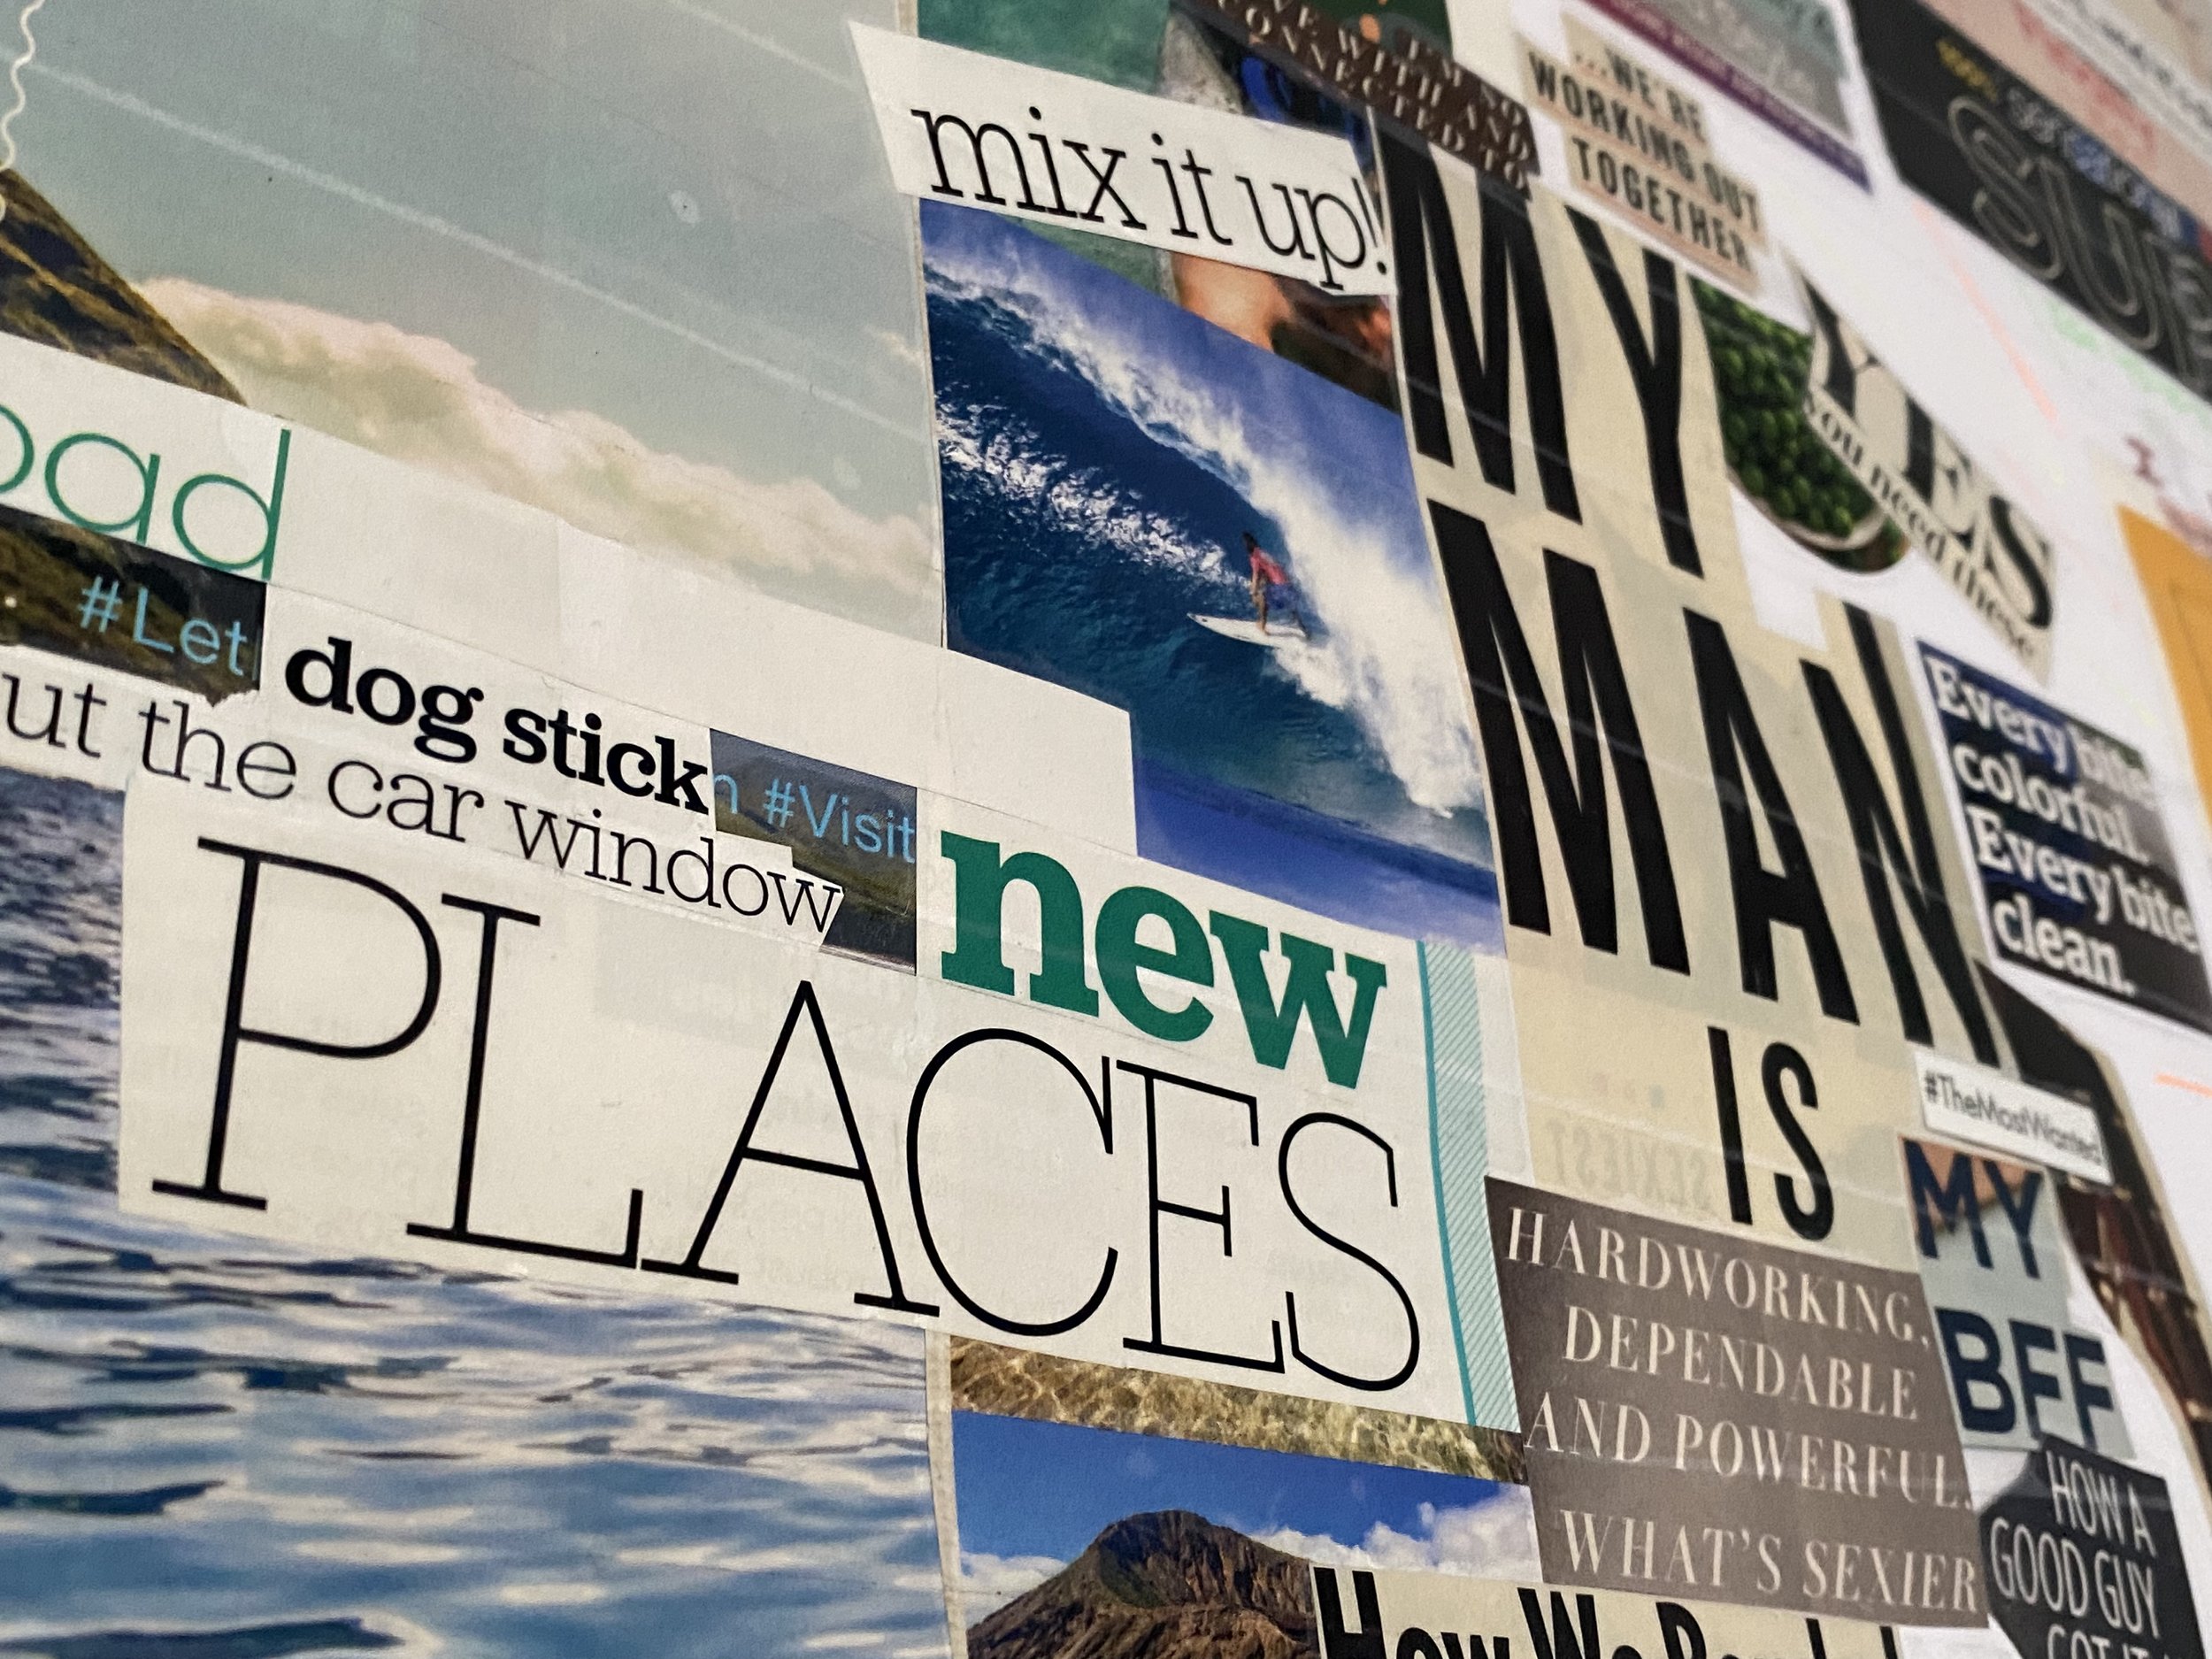
Below you can check out a few of my vision boards from previous years. They’re still displayed in my office like others might display their degrees!
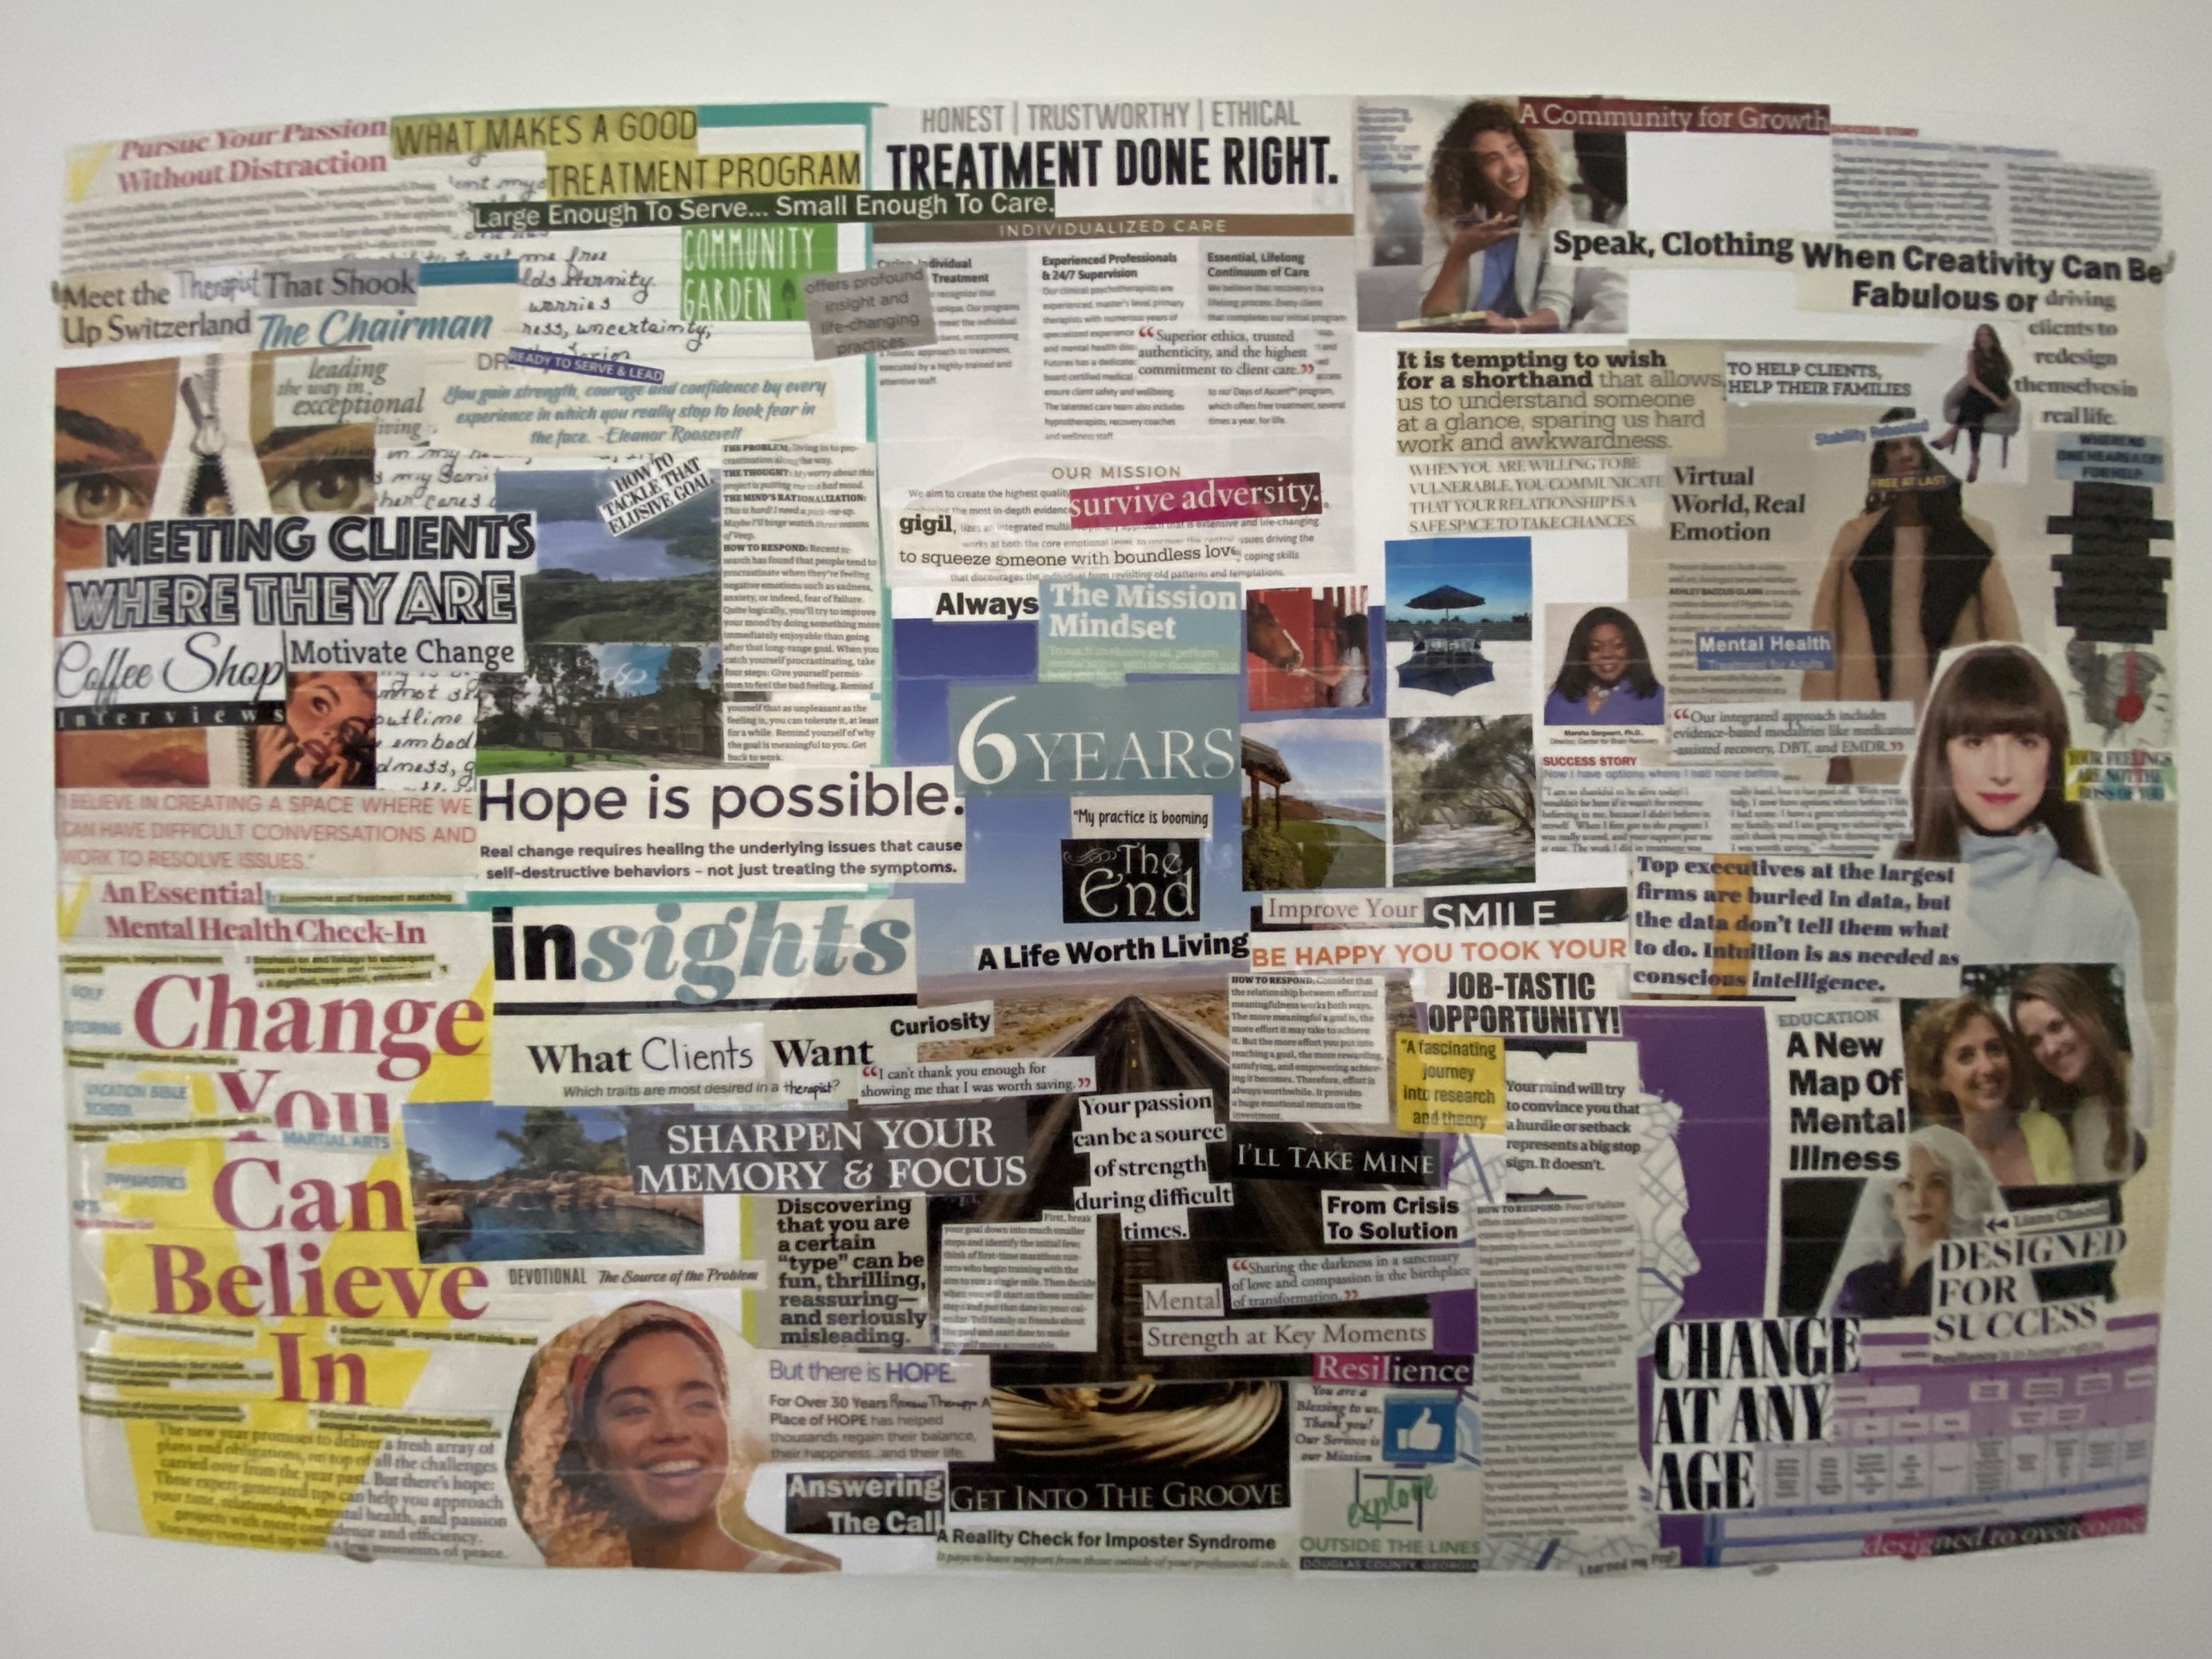
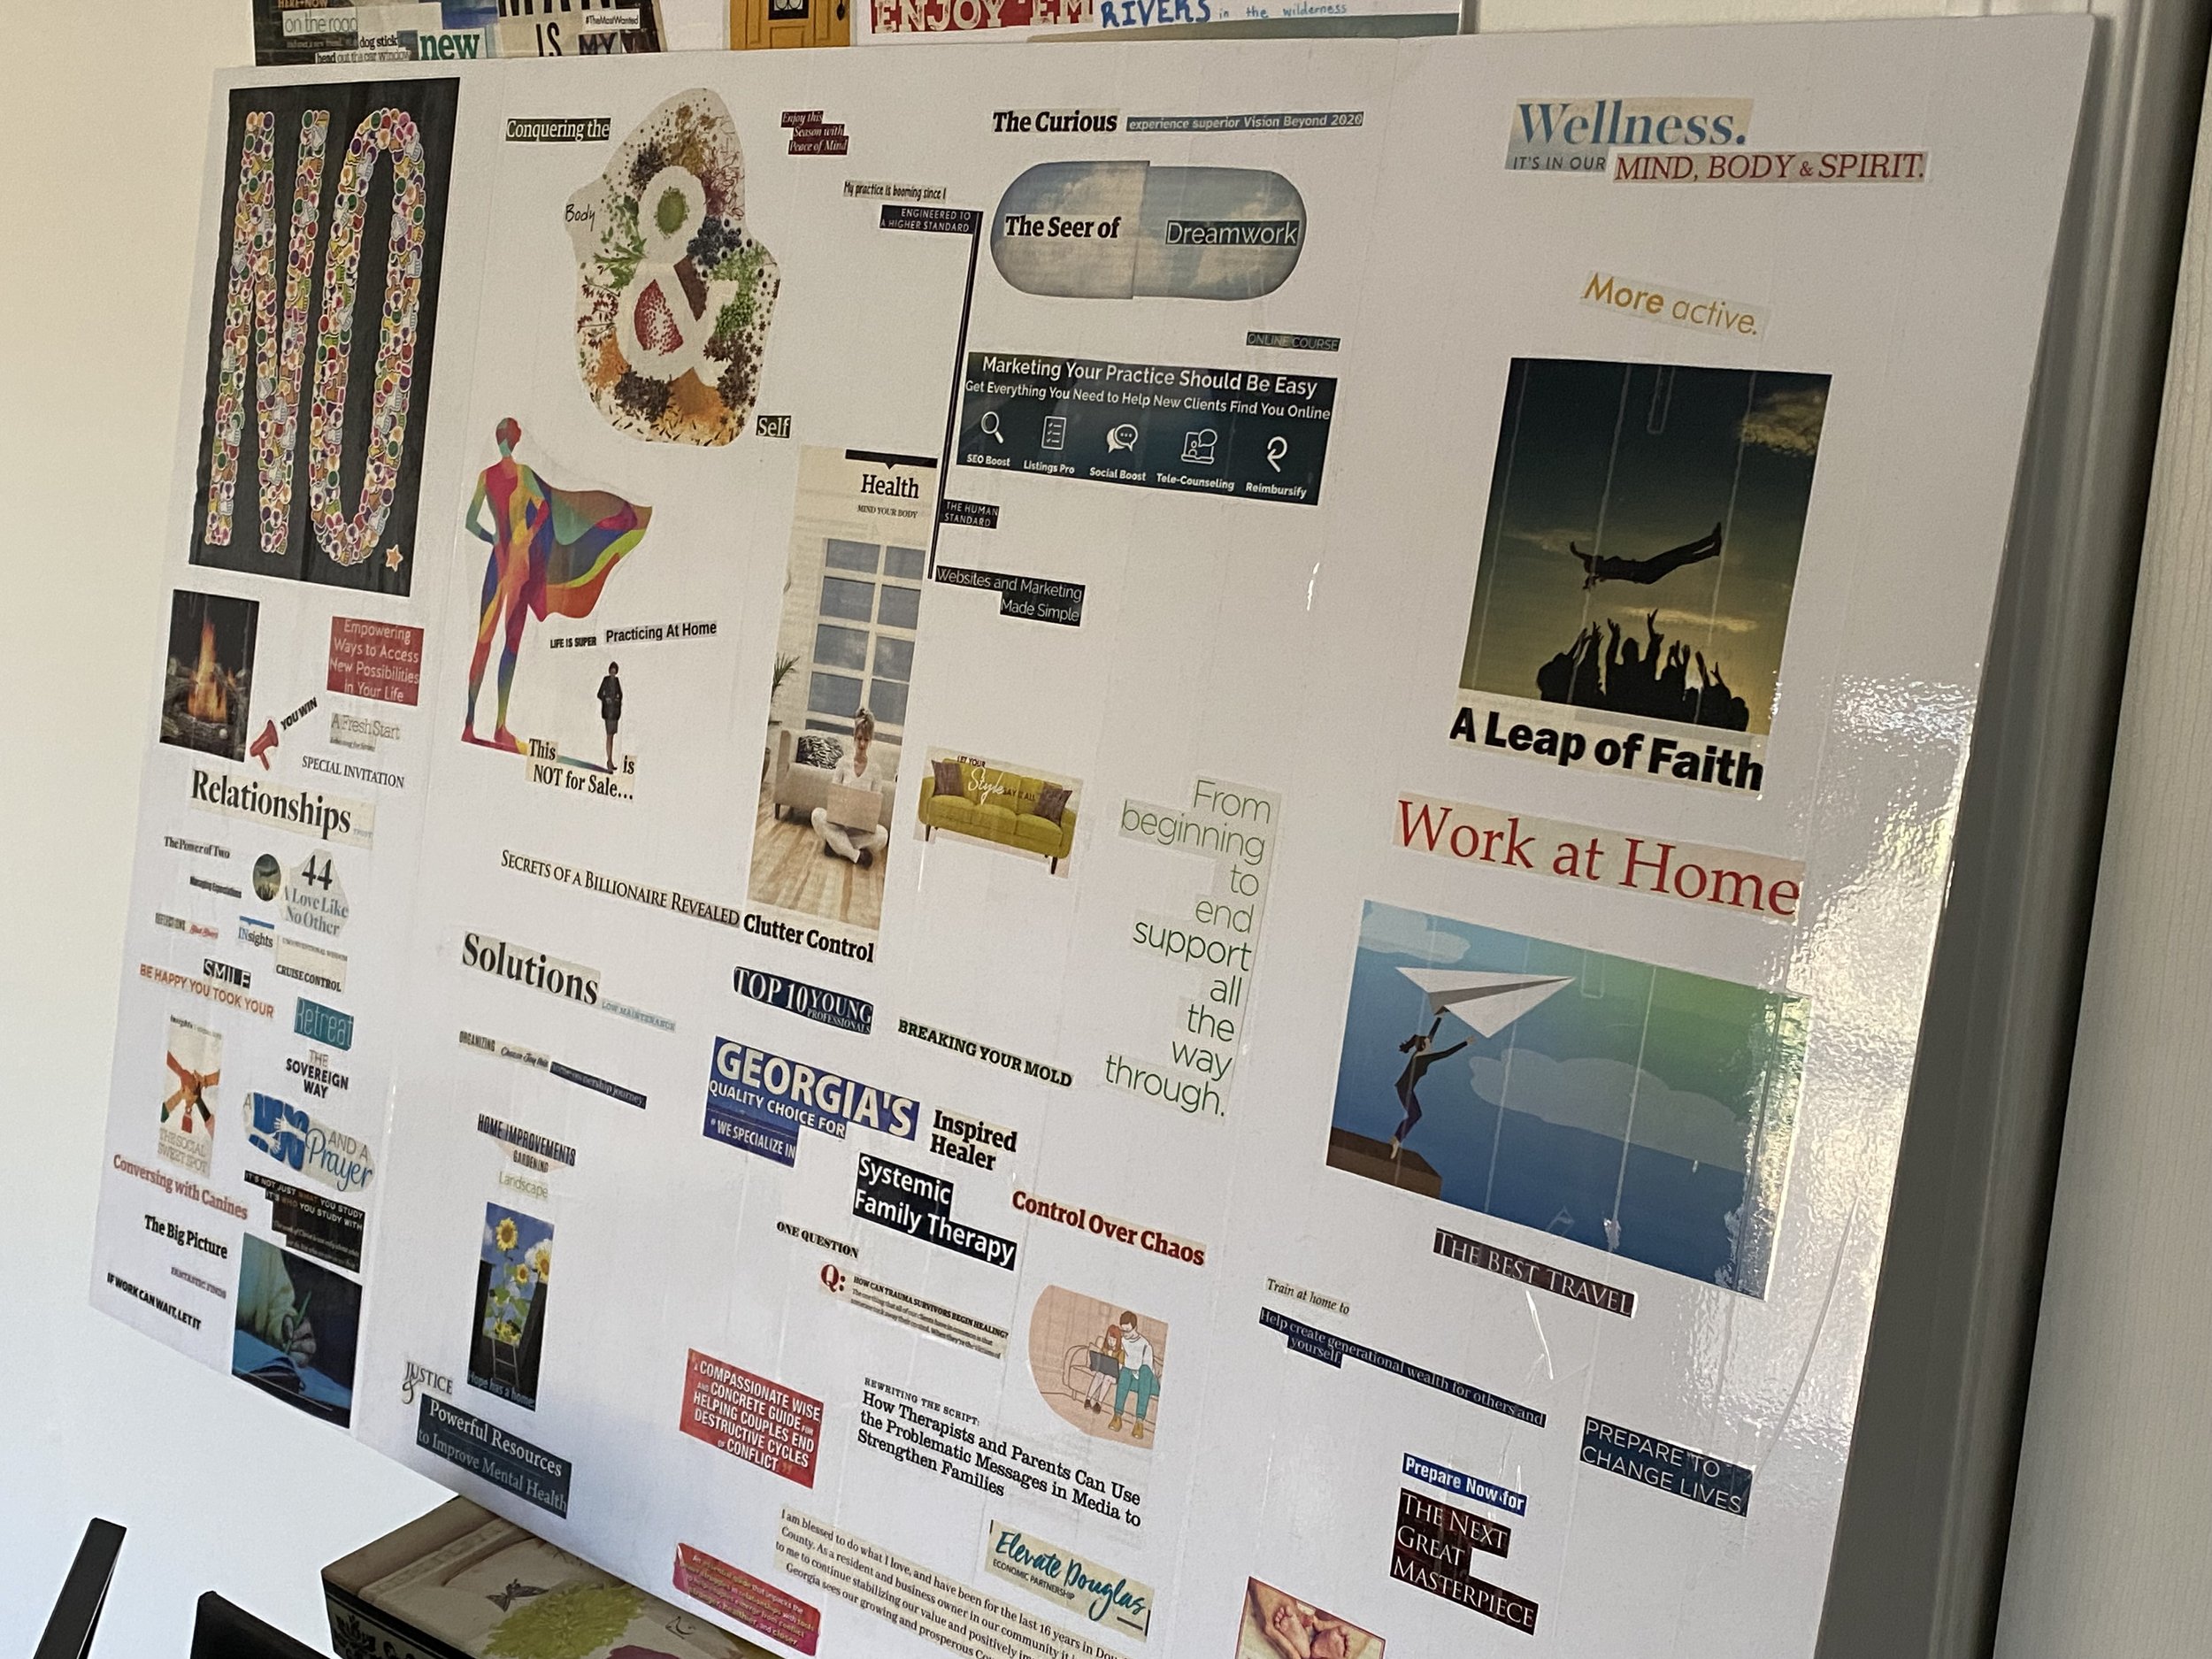
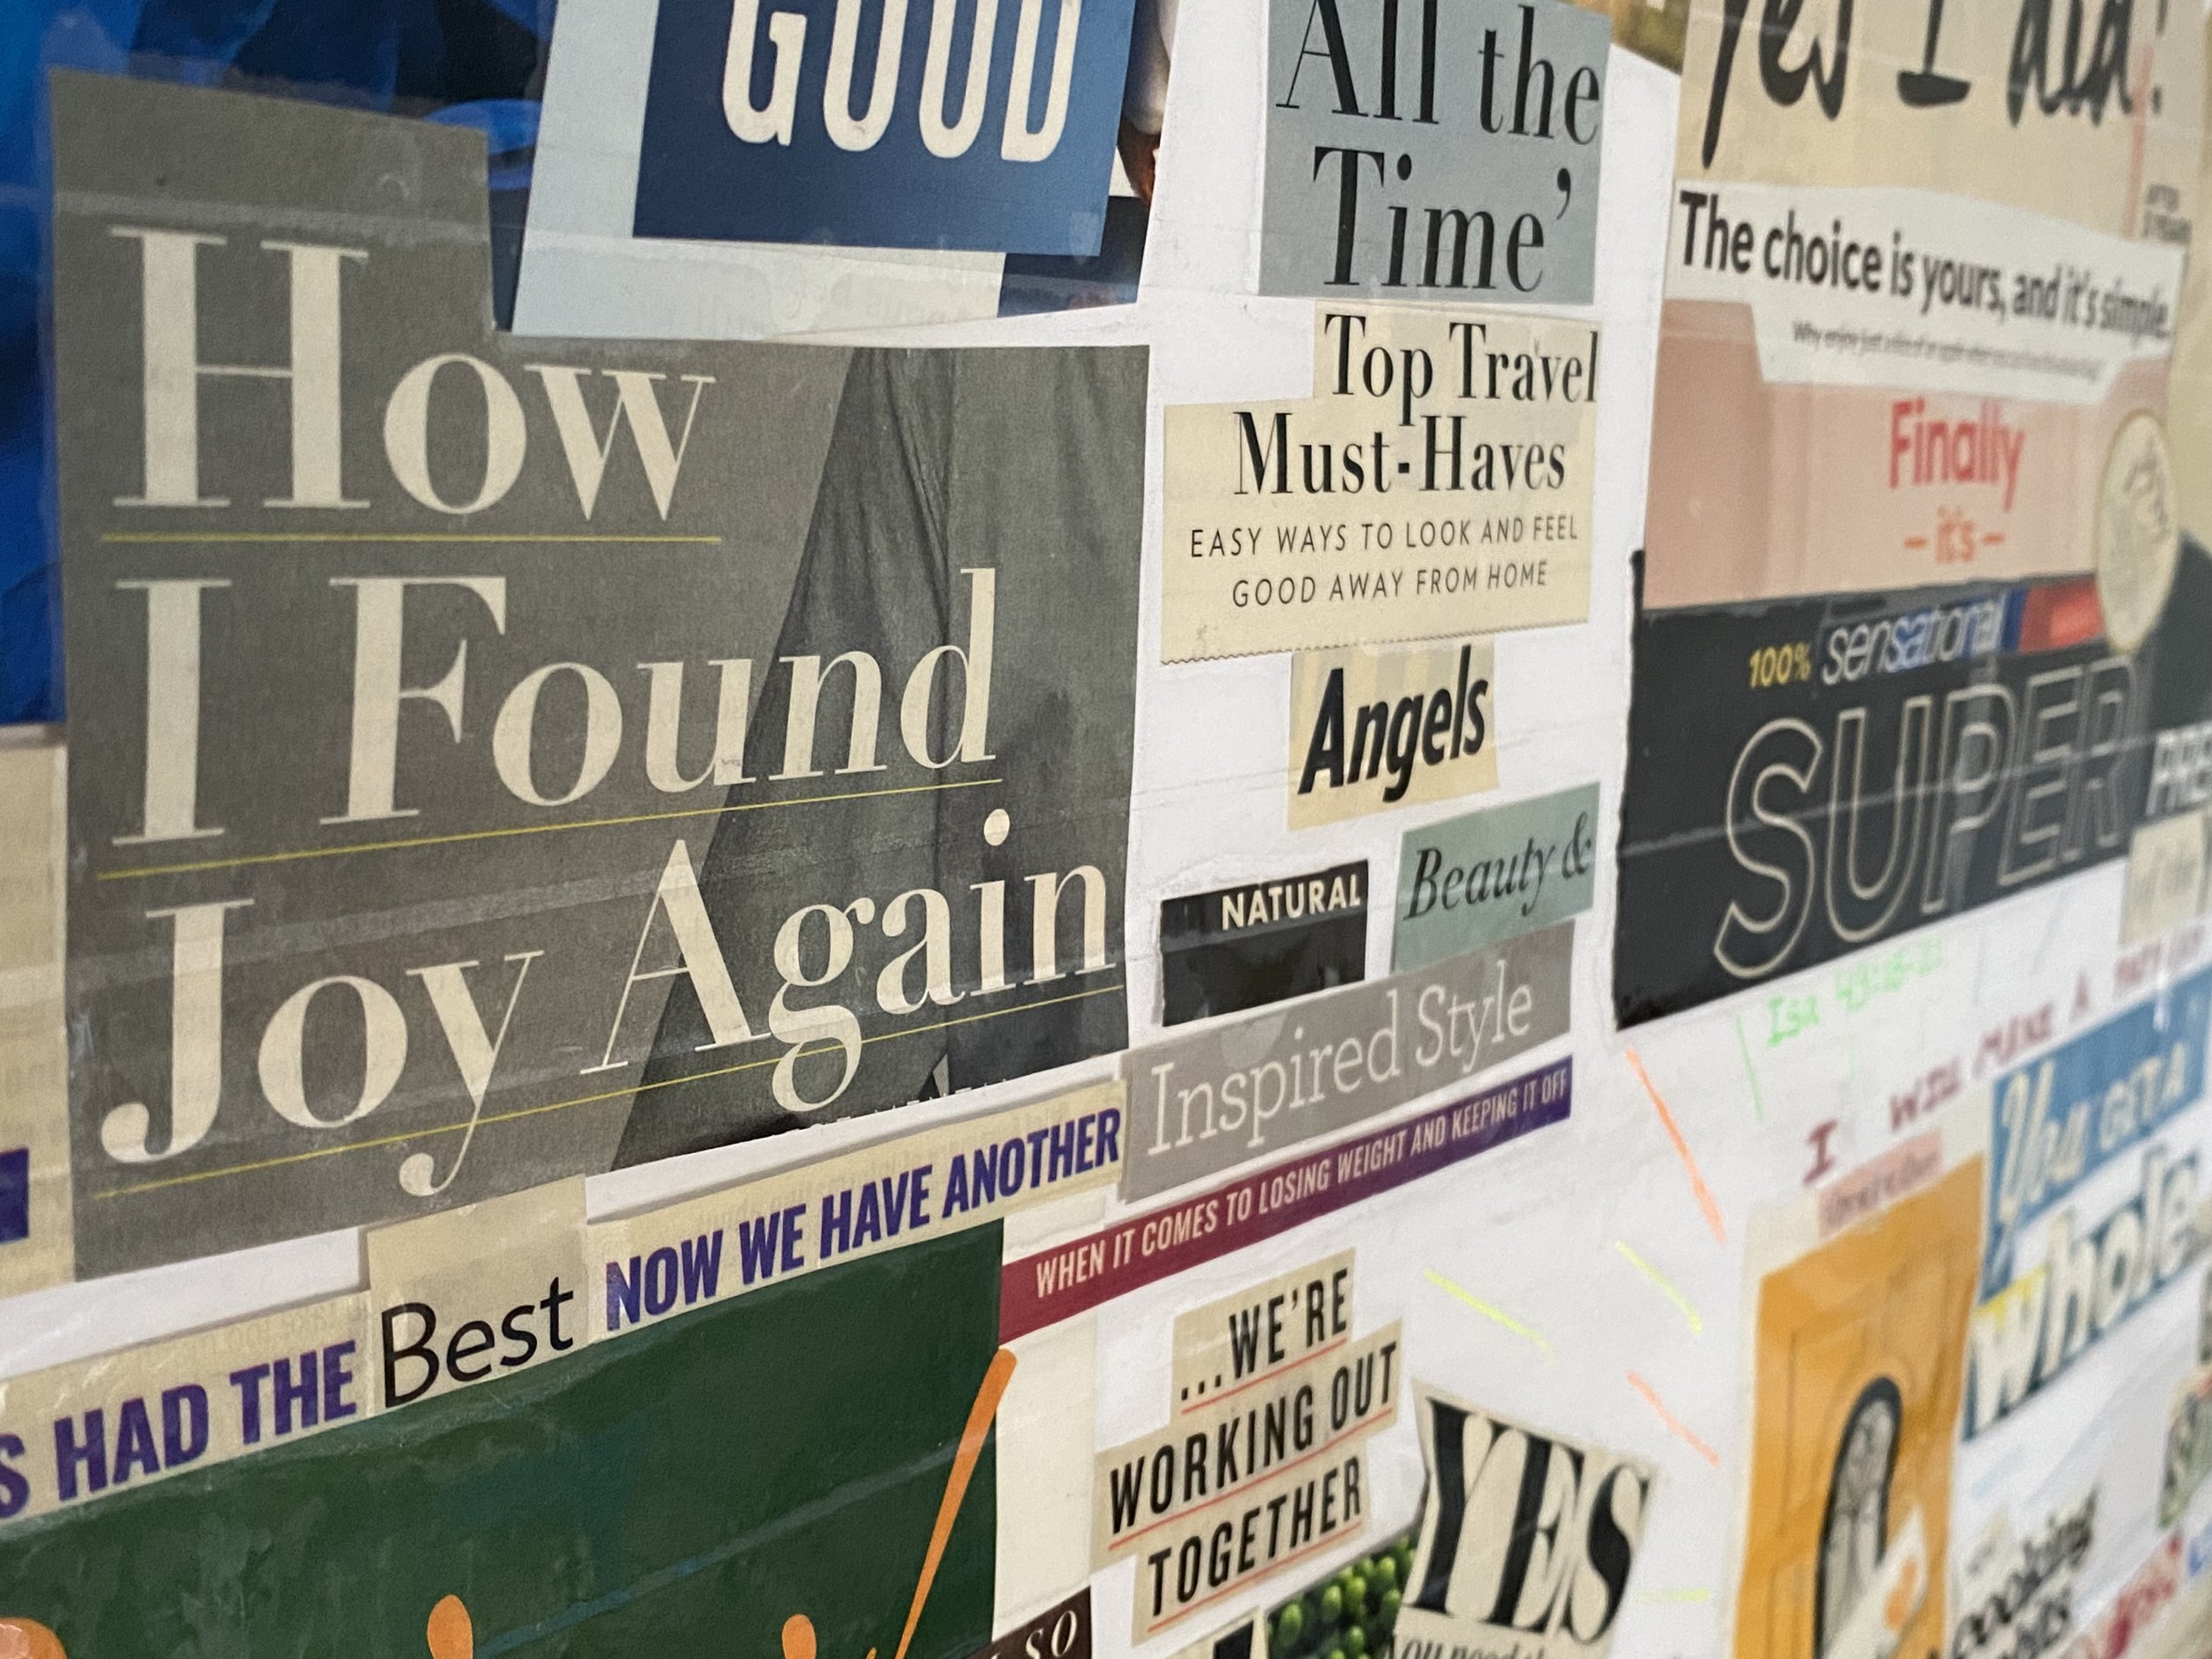
Returning to my vision board 12 months after creating them, and wholeheartedly feeling full of gratitude for how the years have fulfilled and exceeded my expectations, is precisely why I’ve decided to write this post. I want you to see how easy it is to schedule two hours out of your busy end-of-the-year schedule and reflect on your upcoming seasons.
Dare to dream big!
If you enjoyed this blog post, share it with a friend, or let me know with an email!